Thursday, February 23, 2012

Totes for the Tikes

Since being called to be the Primary Secretary in my ward, I have throughly enjoyed being with the little ones in our ward. Our ward primary is quite small with 3-Sunbeams 1-CTR 4 about 3-CTR 5&6 and the rest Valiants 8-11 with a grande total of 15 to 20 kids on our best Sundays.

We have mostly boys and just  a few girls in our combined Junior and Senior primary so our Sundays can be super fun. We have a great presidency and dedicated teachers who care about the children.

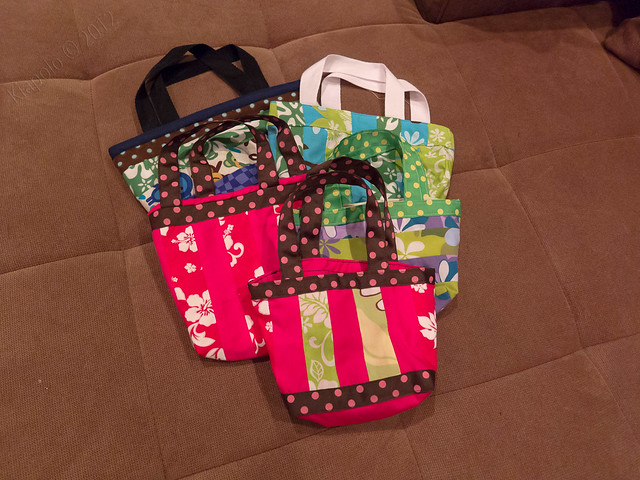
 For Christmas/New Year's we wanted to give each child a special gift and I volunteered to use up my left over fabric to make little scripture totes for the kiddos.

IMG_0402

Inside the little bags the  presidency included the 13 articles of faith cards on a ring and a little Book of Mormon. My sister Crystal showed me the site and gave me the idea to have them printed on photo paper at our local Sam's club so they kids can have their own set. 

 It has given me much pleasure to see the kids tote their bags to church each Sunday. I've been amazed at how popular they are with the boys! They LOVE them-who whould've thought?

For the bags I used the tutorial at P.S I quilt . This is a great project for using up scraps of materials and I loved the way she shows you to sew once all the way around to secure the binding and then top stitch everything all down- super SIMPLE and cute!

Sommer's Secret: I ommitted the batting and excluded the quilting portion since the bags were so little and don't need much stability.

IMG_0410

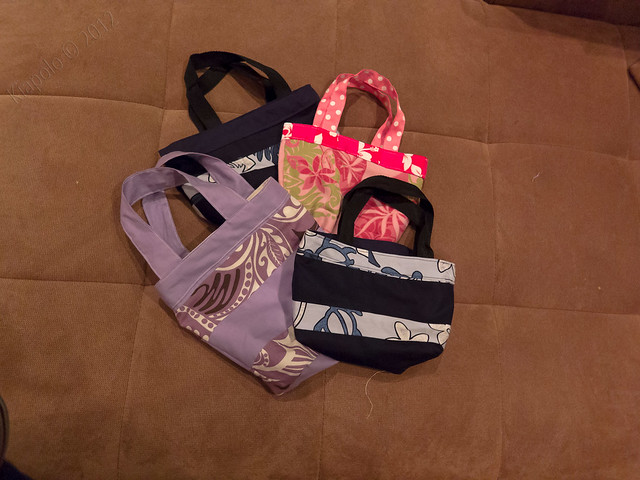
I love how each one came out unique with it's own personality. 

Sommer's Secret: I didn't really worry about the bag sizes so they came out all different depending on the piece of fabric I had to work with- they just needed to be big enough to fit the little book of mormon.

IMG_0405

Sommer's Secret: I used coordinating ribbon, premade bias tape and strips of fabric for  the binding around and handles.  I liked using the ribbon the best since there was lots less prep work with no need to have to iron the raw edge before sewing.

It was also easy to use strips of fabric NOT cut on the bias since there really wasn't a need for the bias stretch. But the premade Bias binding was easy to use as it is pre-pressed.

IMG_0406

Sommer's Secret: I had to sew together lots of small pieces for some of the bags which actually ended up being a little more sturdy than the others.

IMG_0407

My all time favorite feature has got to be polka dots. They are just SO FUN! My favorite bags are the ones that have a handle made out of the same fabric as the bag, which definately took a little more time. If I had a little more time I think pockets on the fronts and cute button embelishments would have been AWESOME! 


IMG_0409

Sommer's Secret: For the boy bags I picked up some woven nylon in black and white for a more plain handle. This also made it super easy.

IMG_0411
      
I am so glad I've found a useful home for these left over scraps.....now they have THEIR time to shine!

Friday, February 17, 2012

First Crochet Edge blankie

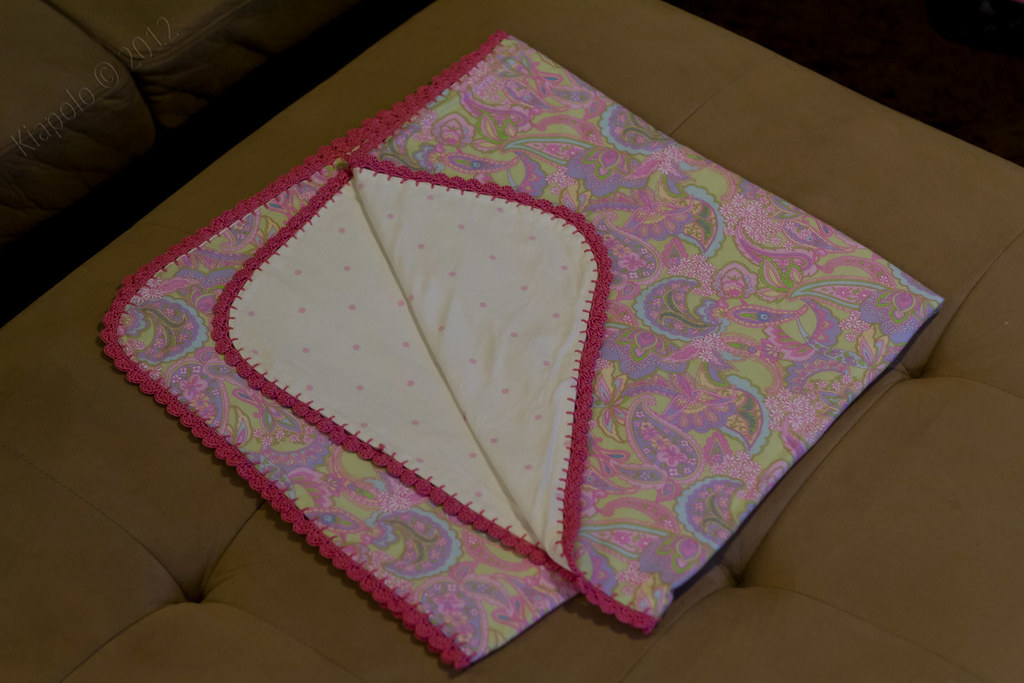
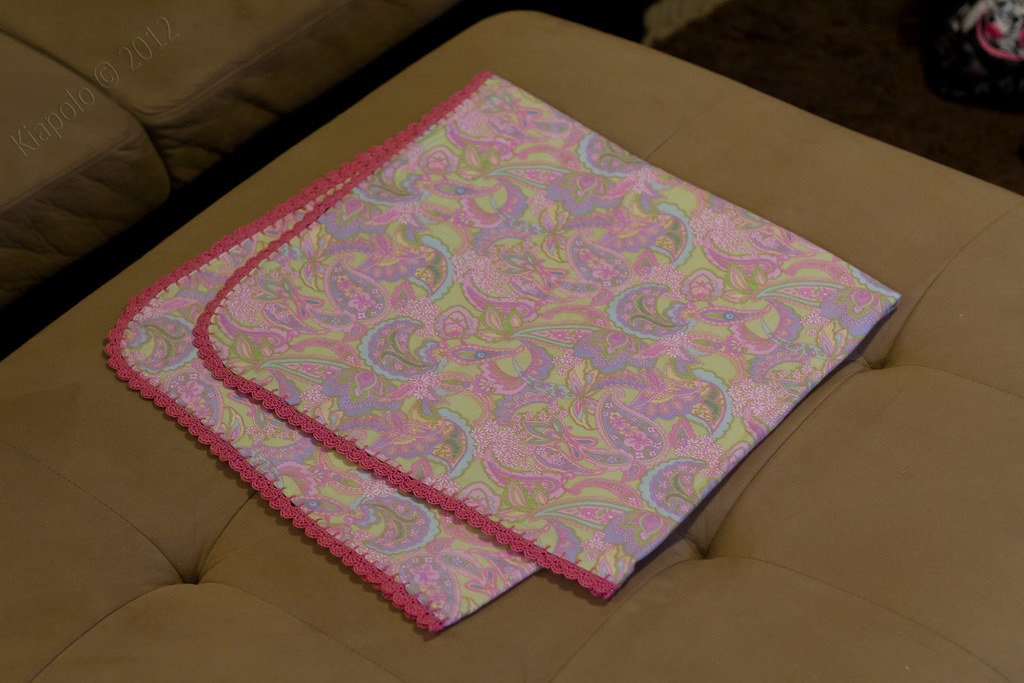
My friend Carole recently gave birth to a brand new baby girl named Tori Jane. With the arrival of her precious little one I seized the opportunity to try my hand at a crochet edge blankie.

IMG_1369


I began by purchasing 2 coordinated pieces of girly flannelet.

Sommer's Secret: So I have the least amount of waste, I usually purchase a square of fabric. Standard fabric widths are about 45" so I have the fabric store cut a 45"x45" square for my "receiving" blankets. (Generally Receiving blankets are about 36"X52'0.

When I get home I wash and dry the fabric so that there isn't any shrinkage on the finished blanket. When I'm feeling up for it I like to "block" the fabric to "reset" the grain by ironing the fabric while it's pinned flat. Otherwise ironing works just fine. While these steps take more time, The finished product definitely comes out SO much better.

I've dabbled in crochet on and off since my grandmother McCombs gave me my first crochet lesson and I've recently picked it up again which usually happens around General Conference time so I can have something to do while listening to all the speakers ;o)

While I've seen lots of ways that people make crochet edged blankets, I've never made one but here's what I did:

Step 1: Pin fabric squares on top of each other right sides together.

Step 2: Using a fabric (erasable) pen, I used a plate as a guide to mark and cut off the edges of the blankie to have a rounded edge. I figured a round edge would make for more "continuous" crochet edge.

Step 3: Sew the two fabric pieces together, leaving an opening for turning.

Step 4: Turn.

Step 5: Iron edges flat folding in the open area to create a finished edge.

At this point you can either top stitch around the edge or do what I did:

Step 6: Beginning at the opening where you "turned" or insided out your blanket. Begin your blanket stitch, sewing between both layers of fabric to close the opening.

Sommer's Secret: Since I was using heavier weight fabric and didnt' have a super sharp crochet hook, I used a sharp embroidery needle to create my blanket stitch. I understand some people prefer to use their crochet hook to puncture through the fabric, or top stitch to create the holes. There is also this nifty machine that you can buy that will actually make the holes around the edge for you and actually 'seals' the holes so they don't fray- cool huh?

Here is a good tutorial on how to do the blanket stitch.

Sommer's Secret:  Since I didn't top stitch the blanket I didn't really have a guide for spacing my blanket stitch, so I used my thumb nail as a guide. The stitches weren't perfect but I like that it has a little more "homemade" character with my uneven, imperfect stitches.

 After completing your blanket stitch around the entire edge of the blanket, you have your foundation to being crocheting.

Step 7: Insert crochet hook into the first blanket stitch and chain three to begin.

Step 8: Complete a single row of the shell stitch around the entire edge.

IMG_0812
While there are MANY ways to make a crochet edge blanket, I enjoyed making this simple one for my friend. 
IMG_1370

Here are a few awesome tutorials on other ways to make a crochet edge blanket:

Today's Top Twenty
Little Birdie Secrets
This and That Creative
Found*ling