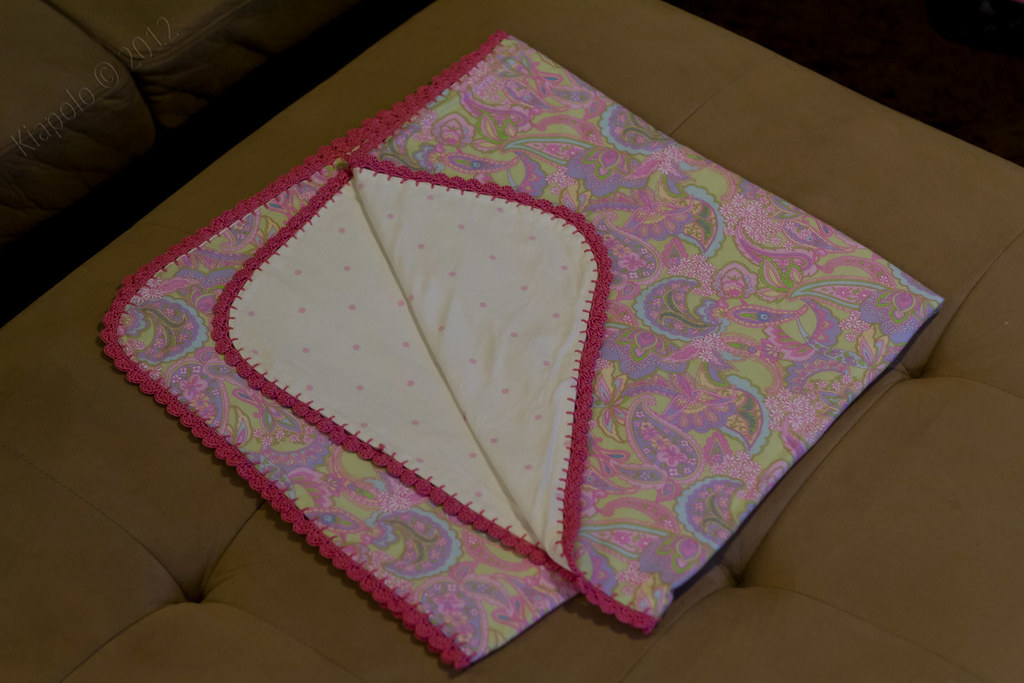
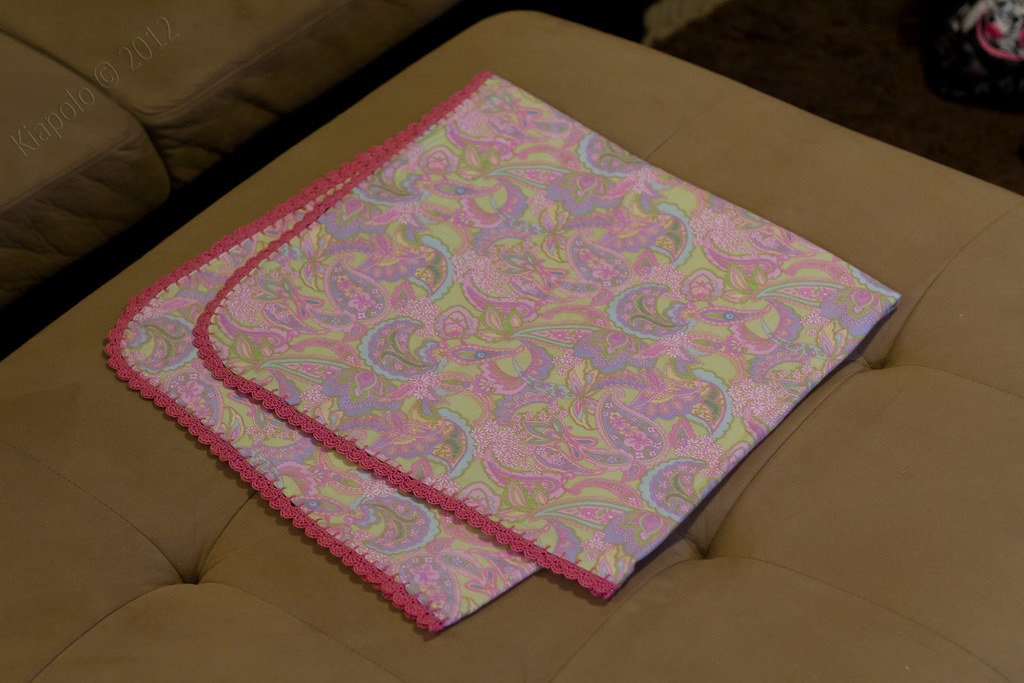
I began by purchasing 2 coordinated pieces of girly flannelet.
Sommer's Secret: So I have the least amount of waste, I usually purchase a square of fabric. Standard fabric widths are about 45" so I have the fabric store cut a 45"x45" square for my "receiving" blankets. (Generally Receiving blankets are about 36"X52'0.
When I get home I wash and dry the fabric so that there isn't any shrinkage on the finished blanket. When I'm feeling up for it I like to "block" the fabric to "reset" the grain by ironing the fabric while it's pinned flat. Otherwise ironing works just fine. While these steps take more time, The finished product definitely comes out SO much better.
I've dabbled in crochet on and off since my grandmother McCombs gave me my first crochet lesson and I've recently picked it up again which usually happens around General Conference time so I can have something to do while listening to all the speakers ;o)
While I've seen lots of ways that people make crochet edged blankets, I've never made one but here's what I did:
Step 1: Pin fabric squares on top of each other right sides together.
Step 2: Using a fabric (erasable) pen, I used a plate as a guide to mark and cut off the edges of the blankie to have a rounded edge. I figured a round edge would make for more "continuous" crochet edge.
Step 3: Sew the two fabric pieces together, leaving an opening for turning.
Step 4: Turn.
Step 5: Iron edges flat folding in the open area to create a finished edge.
At this point you can either top stitch around the edge or do what I did:
Step 6: Beginning at the opening where you "turned" or insided out your blanket. Begin your blanket stitch, sewing between both layers of fabric to close the opening.
Sommer's Secret: Since I was using heavier weight fabric and didnt' have a super sharp crochet hook, I used a sharp embroidery needle to create my blanket stitch. I understand some people prefer to use their crochet hook to puncture through the fabric, or top stitch to create the holes. There is also this nifty machine that you can buy that will actually make the holes around the edge for you and actually 'seals' the holes so they don't fray- cool huh?
Here is a good tutorial on how to do the blanket stitch.
Sommer's Secret: Since I didn't top stitch the blanket I didn't really have a guide for spacing my blanket stitch, so I used my thumb nail as a guide. The stitches weren't perfect but I like that it has a little more "homemade" character with my uneven, imperfect stitches.
After completing your blanket stitch around the entire edge of the blanket, you have your foundation to being crocheting.
Step 7: Insert crochet hook into the first blanket stitch and chain three to begin.
Step 8: Complete a single row of the shell stitch around the entire edge.
While there are MANY ways to make a crochet edge blanket, I enjoyed making this simple one for my friend.
Here are a few awesome tutorials on other ways to make a crochet edge blanket:
Today's Top Twenty
Little Birdie Secrets
This and That Creative
Found*ling


I didn't know you made one of these! it's really cute. LOVE the pink! Bridger's 2 blankies have really held up well. I get lots of compliments on them. I even made my neighbor some burp cloths w/ a crocheted edge and some scrap flannel I had. Makes me want to have a girl! haha. Good idea w/ the square fabric thing--I'll have to remember that next time I buy! At walmart, there was a guy cutting the fabric. I asked for 2 yards...and he just about cut one yard thinking I wanted 2 one yard pieces! Yikes! Good thing I stopped him. HAHAHAHAHA. Guess that's why you don't usually see random guys filling in at the fabric dept. HAHAHA.
ReplyDeleteI also find that the thicker the crochet thread the better. Don't you think? Also less work;0)
ReplyDelete